

March 13, 2019
A 10-Step Guide To Launching Your Own Ecommerce Website


This blog post was originally published by Deliverr, which is now Flexport. The content has been adjusted to fit the Flexport brand voice and tone, but all other information remains unchanged. With the merging of Deliverr’s services (DTC fulfillment, B2B distribution, and Last Mile delivery) into Flexport’s existing international freight and technology services, we’re now able to provide merchants with true end-to-end logistics solutions spanning from the factory floor to the customer’s door.
So you’ve sourced your products, decided to build your own store, and even came up with a name for your eCommerce business. Now, it’s time to launch your own website. But how?
Whether you’re just starting out, or you’re a seasoned merchant selling on Walmart, eBay, or Amazon, building your own ecommerce website is a huge milestone. It can also feel like a huge task.
To help, we’ve put together a simple 10-step guide to launching your own ecommerce website—from picking a name to understanding your shipping options. For the purposes of this blog, we’ll focus on how to create your own store in Shopify.
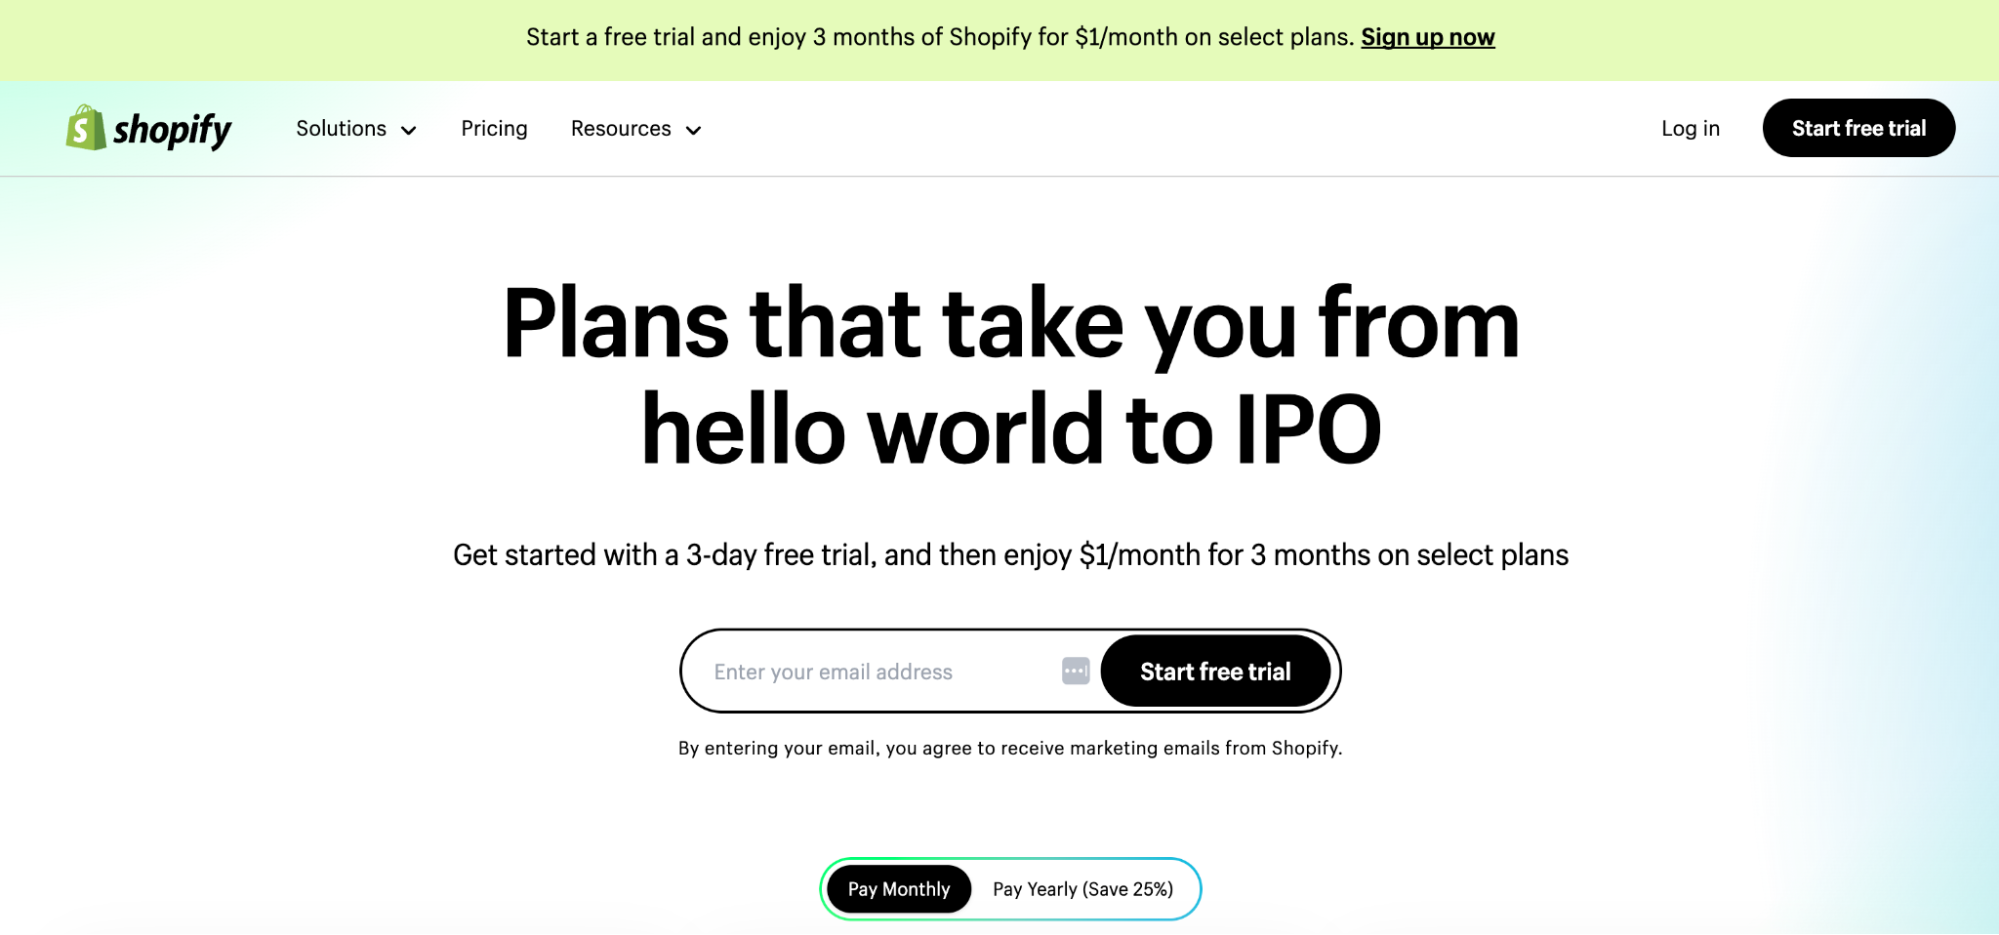
1. Sign Up
First, you need to decide where to create your online store. There are many ecommerce platforms to choose from, but we’re focusing on Shopify because it’s simple to use, quick to set up, offers a free 14-day trial, and is powerful enough to handle your business growth.
Begin by signing up for your Shopify account here and entering your email address and selecting a plan option.
You’ll then be prompted to enter specific information about your business. We recommend doing it straight away (before you forget) and we also recommend:
- Setting up Google Analytics—it’s indispensable when working on reducing cart abandonment, and
- Adding your credit card details—you don’t want to lose your work when your free 14 days are up.
2. Customize Your Store
Next, the exciting part: building your ecommerce store.
Buying Your Domain (Optional)
Your domain is your website address. Shopify automatically allocates you a .myshopify.com domain, but if you’re serious about brand recognition and growth, you should buy a personalized domain name.
Head to your Shopify admin and click Settings > Domains > Buy new domain and start searching for options. Ideally, it should be easy to remember, quick to type, and contain your brand name.
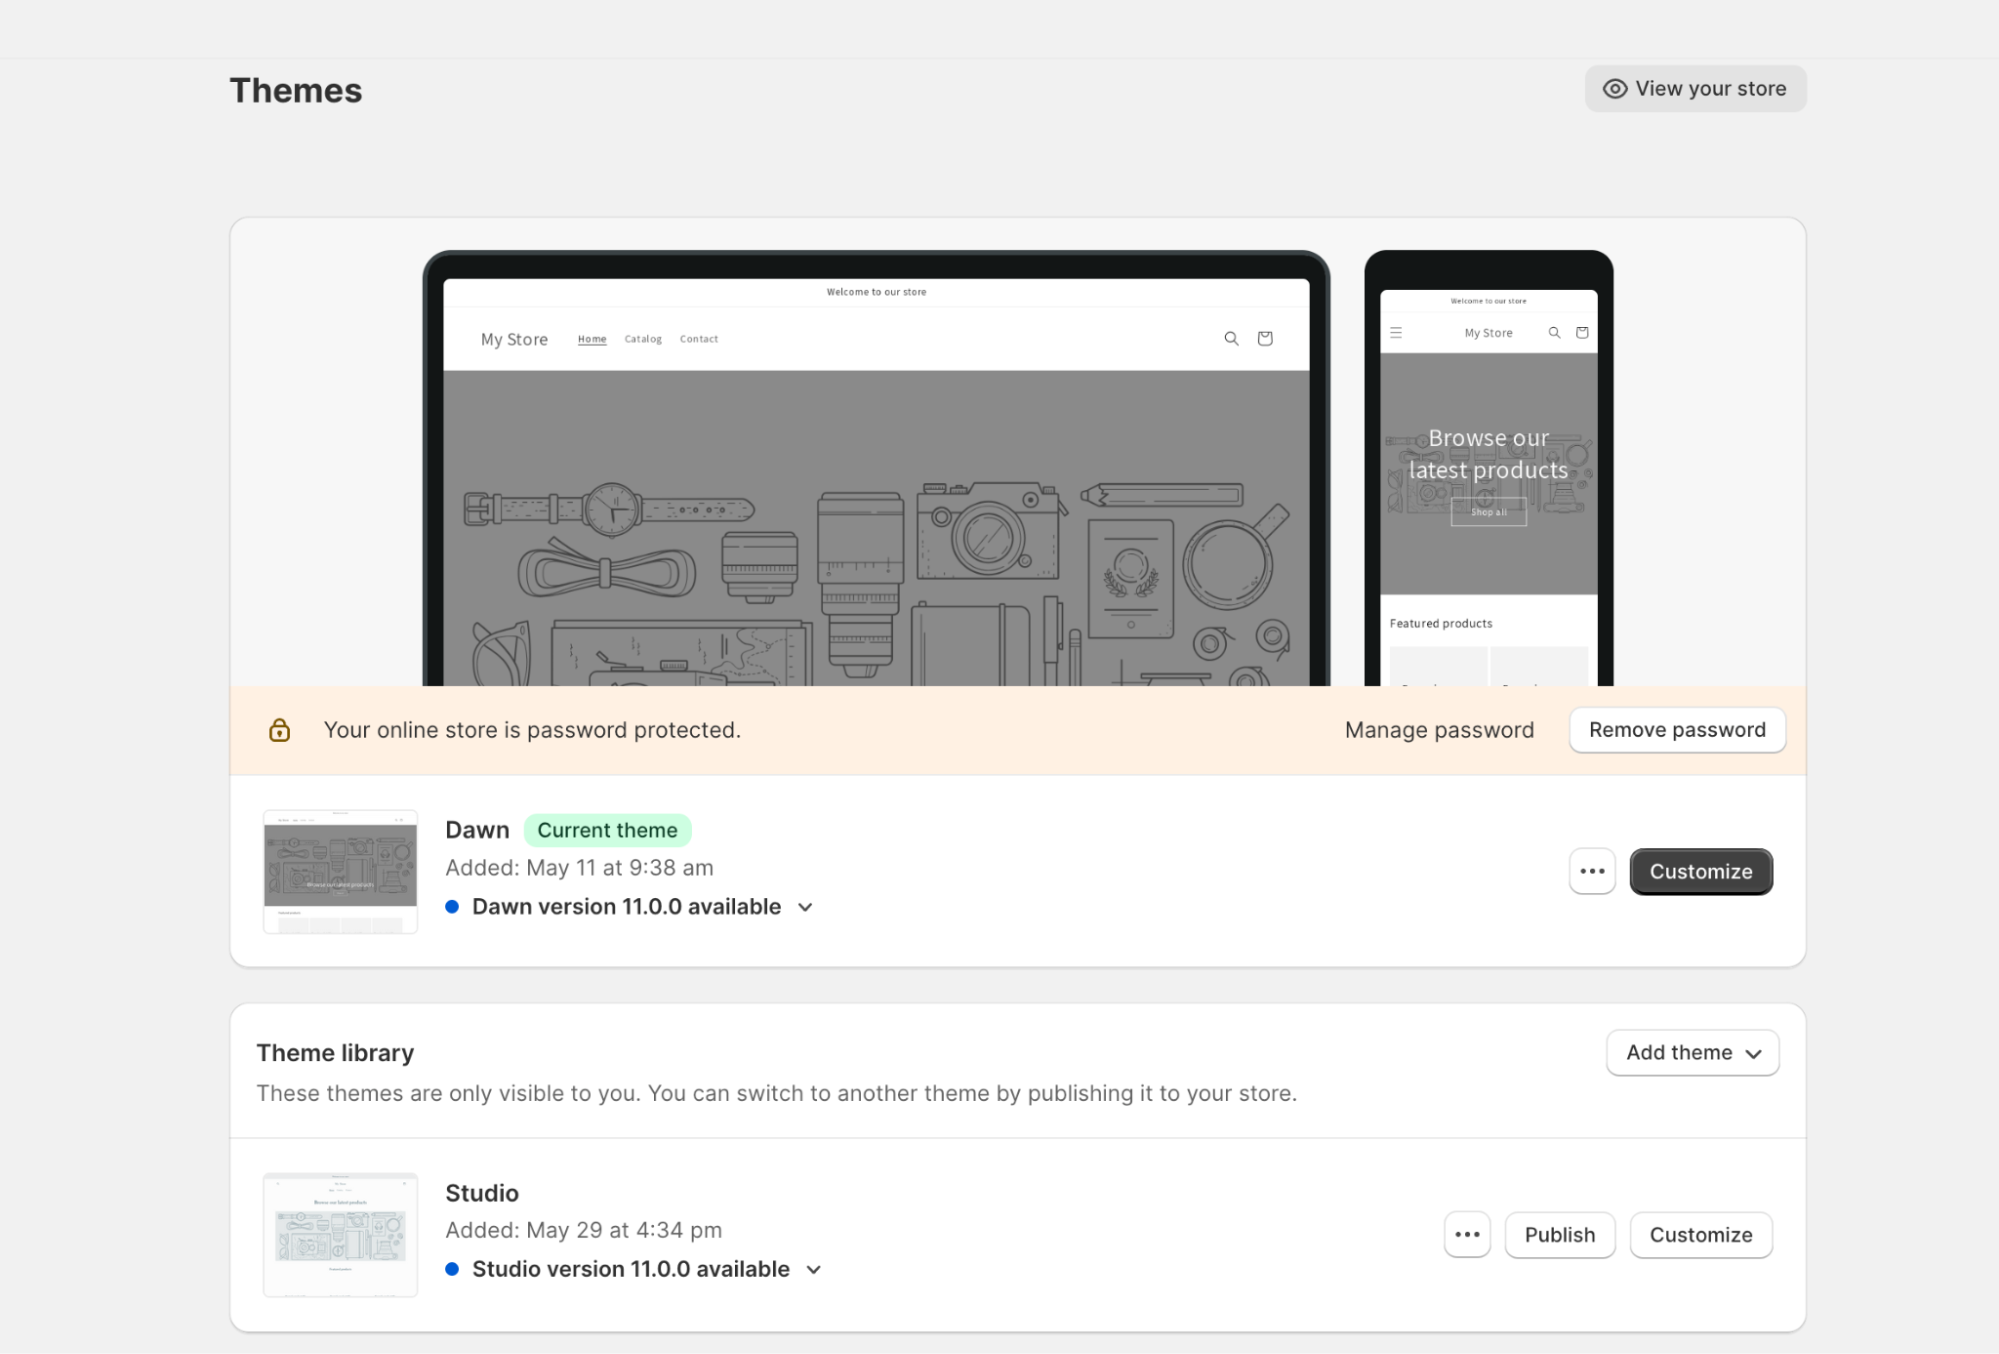
Picking a Theme
Your theme is the backbone of how your website looks, feels, and acts for your customers, and it can heavily influence conversions. Head to the Shopify Theme Store to search the free and paid themes (all customizable without having to code), and look at example websites and reviews.
Pro Tip: Ensure your theme is optimized for mobile.
Customizing Your Theme
Once you’ve picked a theme, you can begin customizing and aligning it to your brand. From the Shopify admin, click Online Store > Themes > Customize and start adding colors, fonts, social media links, logos, and visual options (categories, menus, and items per page).
Here, you’re looking to create a good visual flow and seamless customer journey. Use plenty of white space, high-quality (and quick-to-load) imagery, and a smooth layout that guides visitors to your buy button.
Adding Content
Once you’re happy with the look and feel of your online store, you need to edit the content. Begin with:
- A home page
- A contact us page
- An about page (including shipping and returns information)
- Category pages
Use clear and engaging words that excite your customers, and avoid large chunks of text. You want it simple on the eye, easy to follow, and, most importantly, search engine optimized.
Adding Extensions
You can enhance your ecommerce website with additional apps and integrations. The Shopify App Store has thousands of apps ranging from adding ratings and reviews to managing your Shopify inventory, but don’t get too carried away. Too many apps, or poorly designed apps, can slow your website speed and reduce conversions.
Add Products
What’s an ecommerce website without any products? But first, you need to decide where you’re getting your products from.
Dropshipping or Not?
If you haven’t already decided, you’ll need to pick between sourcing and buying products yourself, or drop shipping. With drop shipping, you market and sell the products of a third-party supplier, while the third-party supply stores and ships the products directly to the customer.
The benefits of dropshipping can be great for new businesses but can also be outweighed by poor delivery standards, limited inventory visibility, and low-profit margins. An attractive alternative is self-sourcing products and using an outsourced 3PL fulfillment provider to store and deliver.
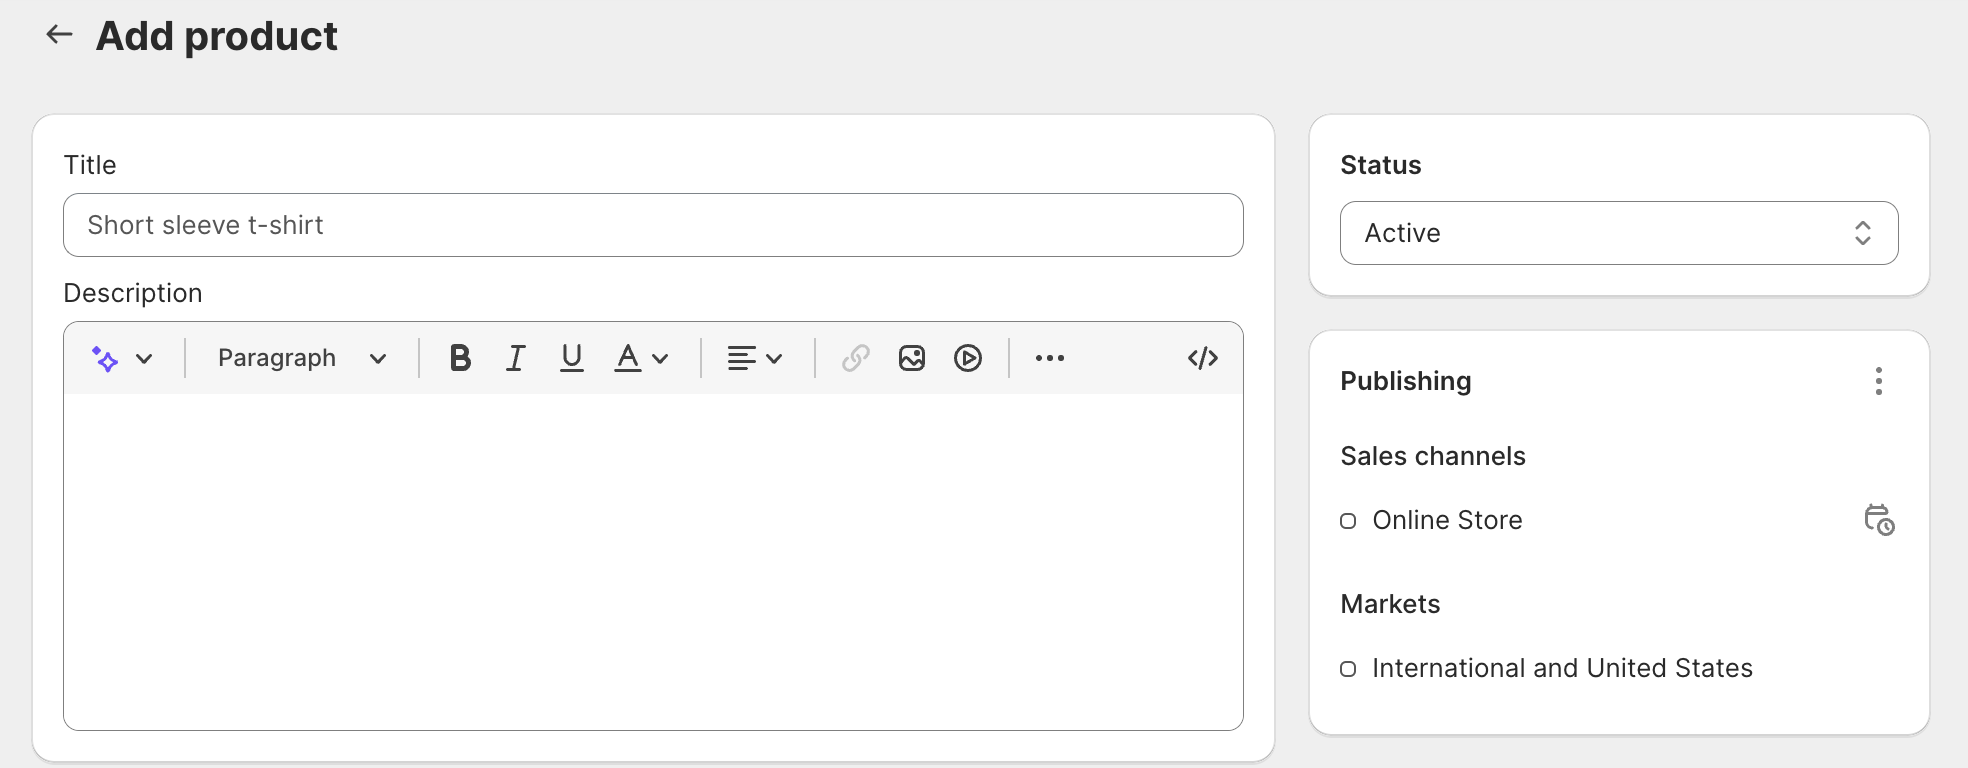
Adding a Product
To add a product, log in to your Shopify admin, click Products > Add your products, and complete the product details including:
- A clear, concise, and accurate title
- An informative and SEO-optimized product description
- Clear, high-quality and optimized images
- Any other relevant information such as price, SKU, and variants
Organizing Your Products
Organizing your products into collections (i.e., womenswear and menswear) makes it easier for your customers to navigate your website. Create collections via the Collections tab, and select whether you want to manually allocate products or have them automatically assigned.
4. Choose a Payment Gateway
Next, you want to ensure that you can take payment for your products. Select a payment gateway by navigating to Settings > Payments. The top things to consider when choosing a payment gateway are:
- Transaction fees: these are taken on top of Shopify’s transaction fees
- Payment options: the more payment methods you accept, the more customers you appeal to
- On-site checkout: keeping payments on-site ensures a seamless customer journey
5. Set Up Your Taxes
Depending on where you are located, you may need to charge your customers sales tax. Head to Settings > Taxes and duties, where you can add tax regions and select options such as all-inclusive pricing, shipping rate taxes, and taxes on digital goods.
6. Create Shipping Rules
The next step is to consider your shipping strategy and create shipping options. For example, does it make sense for your business to offer free 2-day shipping?
Fast shipping can be more expensive than standard shipping, but it can also do much for your conversions. We’ve seen merchants increase their Shopify sales by 34% when offering fast shipping options on their product listings and at checkout. One strategy you can consider is offering 2-day shipping on your popular items to increase their traction, and self-fulfilling slower-moving items on standard speed.
When you know what strategy you should follow, decide how to fulfill your Shopify orders. Fast delivery is now the expectation from consumers, so we recommend picking the option that will guarantee your customers their orders on time.
You have two choices here:
Self-Fulfillment
This means fulfilling orders from your home or warehouse and handling labels, packaging, and shipping yourself. This can provide a useful insight into your business if you’re just starting out, but is difficult to maintain as your store gains traction.
Outsourced Fulfillment
This means partnering with an outsourced 3PL fulfillment solution that handles storage, packing, shipping, and tracking. Shopify integrated fulfillment solutions are a popular option for ecommerce stores wanting to benefit from expertise, unlimited staff, and preferential delivery rates. Plus, with Flexport, onboarding takes only a few minutes.
Once you’ve decided on your method, you need to determine your fees.
Free Shipping
In 2022, more than 60% of shoppers expected their orders to ship free and arrive within three business days. Flexport offers fast delivery across the biggest sales channels. Eligible customers will automatically see reliable delivery dates and the “Free NextDay Delivery” badge on social sales channels at no extra cost.
Pro Tip: Use our Fulfillment Cost Calculator to see if outsourcing your fulfillment can further reduce your shipping costs.
Flat Rate
Determined by destination, weight, or value, flat shipping rates are great when selling items of similar sizes and weights. However, when items vary this can be costly to either your business or your customers.
Real-Time Carrier Rates
Shopify connects with certain parcel carriers to provide real-time shipping rates and provides discounts up to 88%.
Once you’ve decided how to ship and how much to charge, head to Settings > Shipping and delivery to add shipping origin, destinations, weights, sizes, and rates.

7. Test
Now, for the reveal-all: the test. Before going live, it’s crucial to test your ecommerce website, specifically:
- Accessing your store
- Browsing the products
- Buying a product (you can use Shopify’s bogus gateway, but we prefer using the real payment gateway to ensure it works. Just be sure to cancel and refund immediately)
- Testing multiple devices
Was it quick? Did you find what you wanted? Were there errors? Were you drawn to the checkout? Were the shipping options clear? Did your inventory update itself? Ultimately, would you buy from you? If not, tweak your ecommerce store until you would.
8. Market
Going live is no fun without any customers. Create and start a pre-launch marketing plan that utilizes social media, videos, advertising, discounts, and blogs to generate excitement and gain followers. It’s also a good idea to think about your post-live Shopify marketing tactics.
9. Go Live
Start the drum roll and get ready to cut the ribbon as you prepare to go live. If you’re still in your 14-day trial, you’ll need to pick a plan and then, head to Online Store > Preferences and uncheck the Enable password page option and click Save.
10. Expand
Congratulations! Your ecommerce website is now live, but the work doesn’t stop there. Once you’re open for business, you need to start working on your next challenge: expansion.
Multi-Channel Selling
Omnichannel shopping has become the norm, with 75% of U.S. consumers now researching and purchasing both in-store and online. Customers look at reviews, check out competitors, and sometimes prefer buying from a brand they trust.
Integrating online marketplaces with your online store is essential for capturing these customers, and it’s easy when using multi-channel fulfillment providers, cross-channel inventory tools, and multi-channel listing software.
Outsourcing Fulfillment
If you chose self-fulfillment at step six, you might find keeping up a struggle as you begin to expand. Outsourcing your fulfillment in part or in full takes the pressure of meeting strict delivery deadlines, especially during peak seasons. It also has added benefits when selling across multiple sales channels.
Getting Reviews
Online reputation is everything; 98% of consumers feel that reviews are an essential resource when making purchase decisions. Give customers something positive to talk about, such as timely tracking information, excellent customer service, and quick deliveries. Moreover, ask them to review your business and products using Shopify’s integrated ratings and review software.
Final Thoughts
There are many benefits of having your own ecommerce website, and with Shopify being so simple and easy to set up, there’s no excuse to not have one. Take your time, build with your customer in mind, and never stop testing or asking for feedback—it’s the key to growth.
The contents of this blog are made available for informational purposes only and should not be relied upon for any legal, business, or financial decisions. We do not guarantee, represent, or warrant the accuracy or reliability of any of the contents of this blog because they are based on Flexport’s current beliefs, expectations, and assumptions, about which there can be no assurance due to various anticipated and unanticipated events that may occur. This blog has been prepared to the best of Flexport’s knowledge and research; however, the information presented in this blog herein may not reflect the most current regulatory or industry developments. Neither Flexport nor its advisors or affiliates shall be liable for any losses that arise in any way due to the reliance on the contents contained in this blog.
About the Author


